Admin Quickstart
Get an office team live: confirm workspace access, create sites, schedule inspections, and review the first outputs.
Before you start
- You can sign in to the admin portal with an owner or admin account.
- Your team knows which field resources and office users need invite access before live scheduling starts.
- Core customer and site information is ready to enter or import.
Expected outcome
Your workspace is ready for live scheduling, engineers can get into the right workspace, and the office team knows where to review outputs.
Open the right desks first
- Start in the admin dashboard and confirm you are in the correct workspace.
- Check that owners, admins, and field resources have the right access before you begin entering live work.
- Invite missing users from the workspace user controls instead of sharing one login across the team.
- If someone accepts an invite but already belongs to another workspace, tell them to complete the invite flow in the browser and then re-open the admin or mobile app in the target workspace.
- Before you schedule live work, confirm the members who should appear in field assignment pickers have field work enabled and office-only coordinators do not.
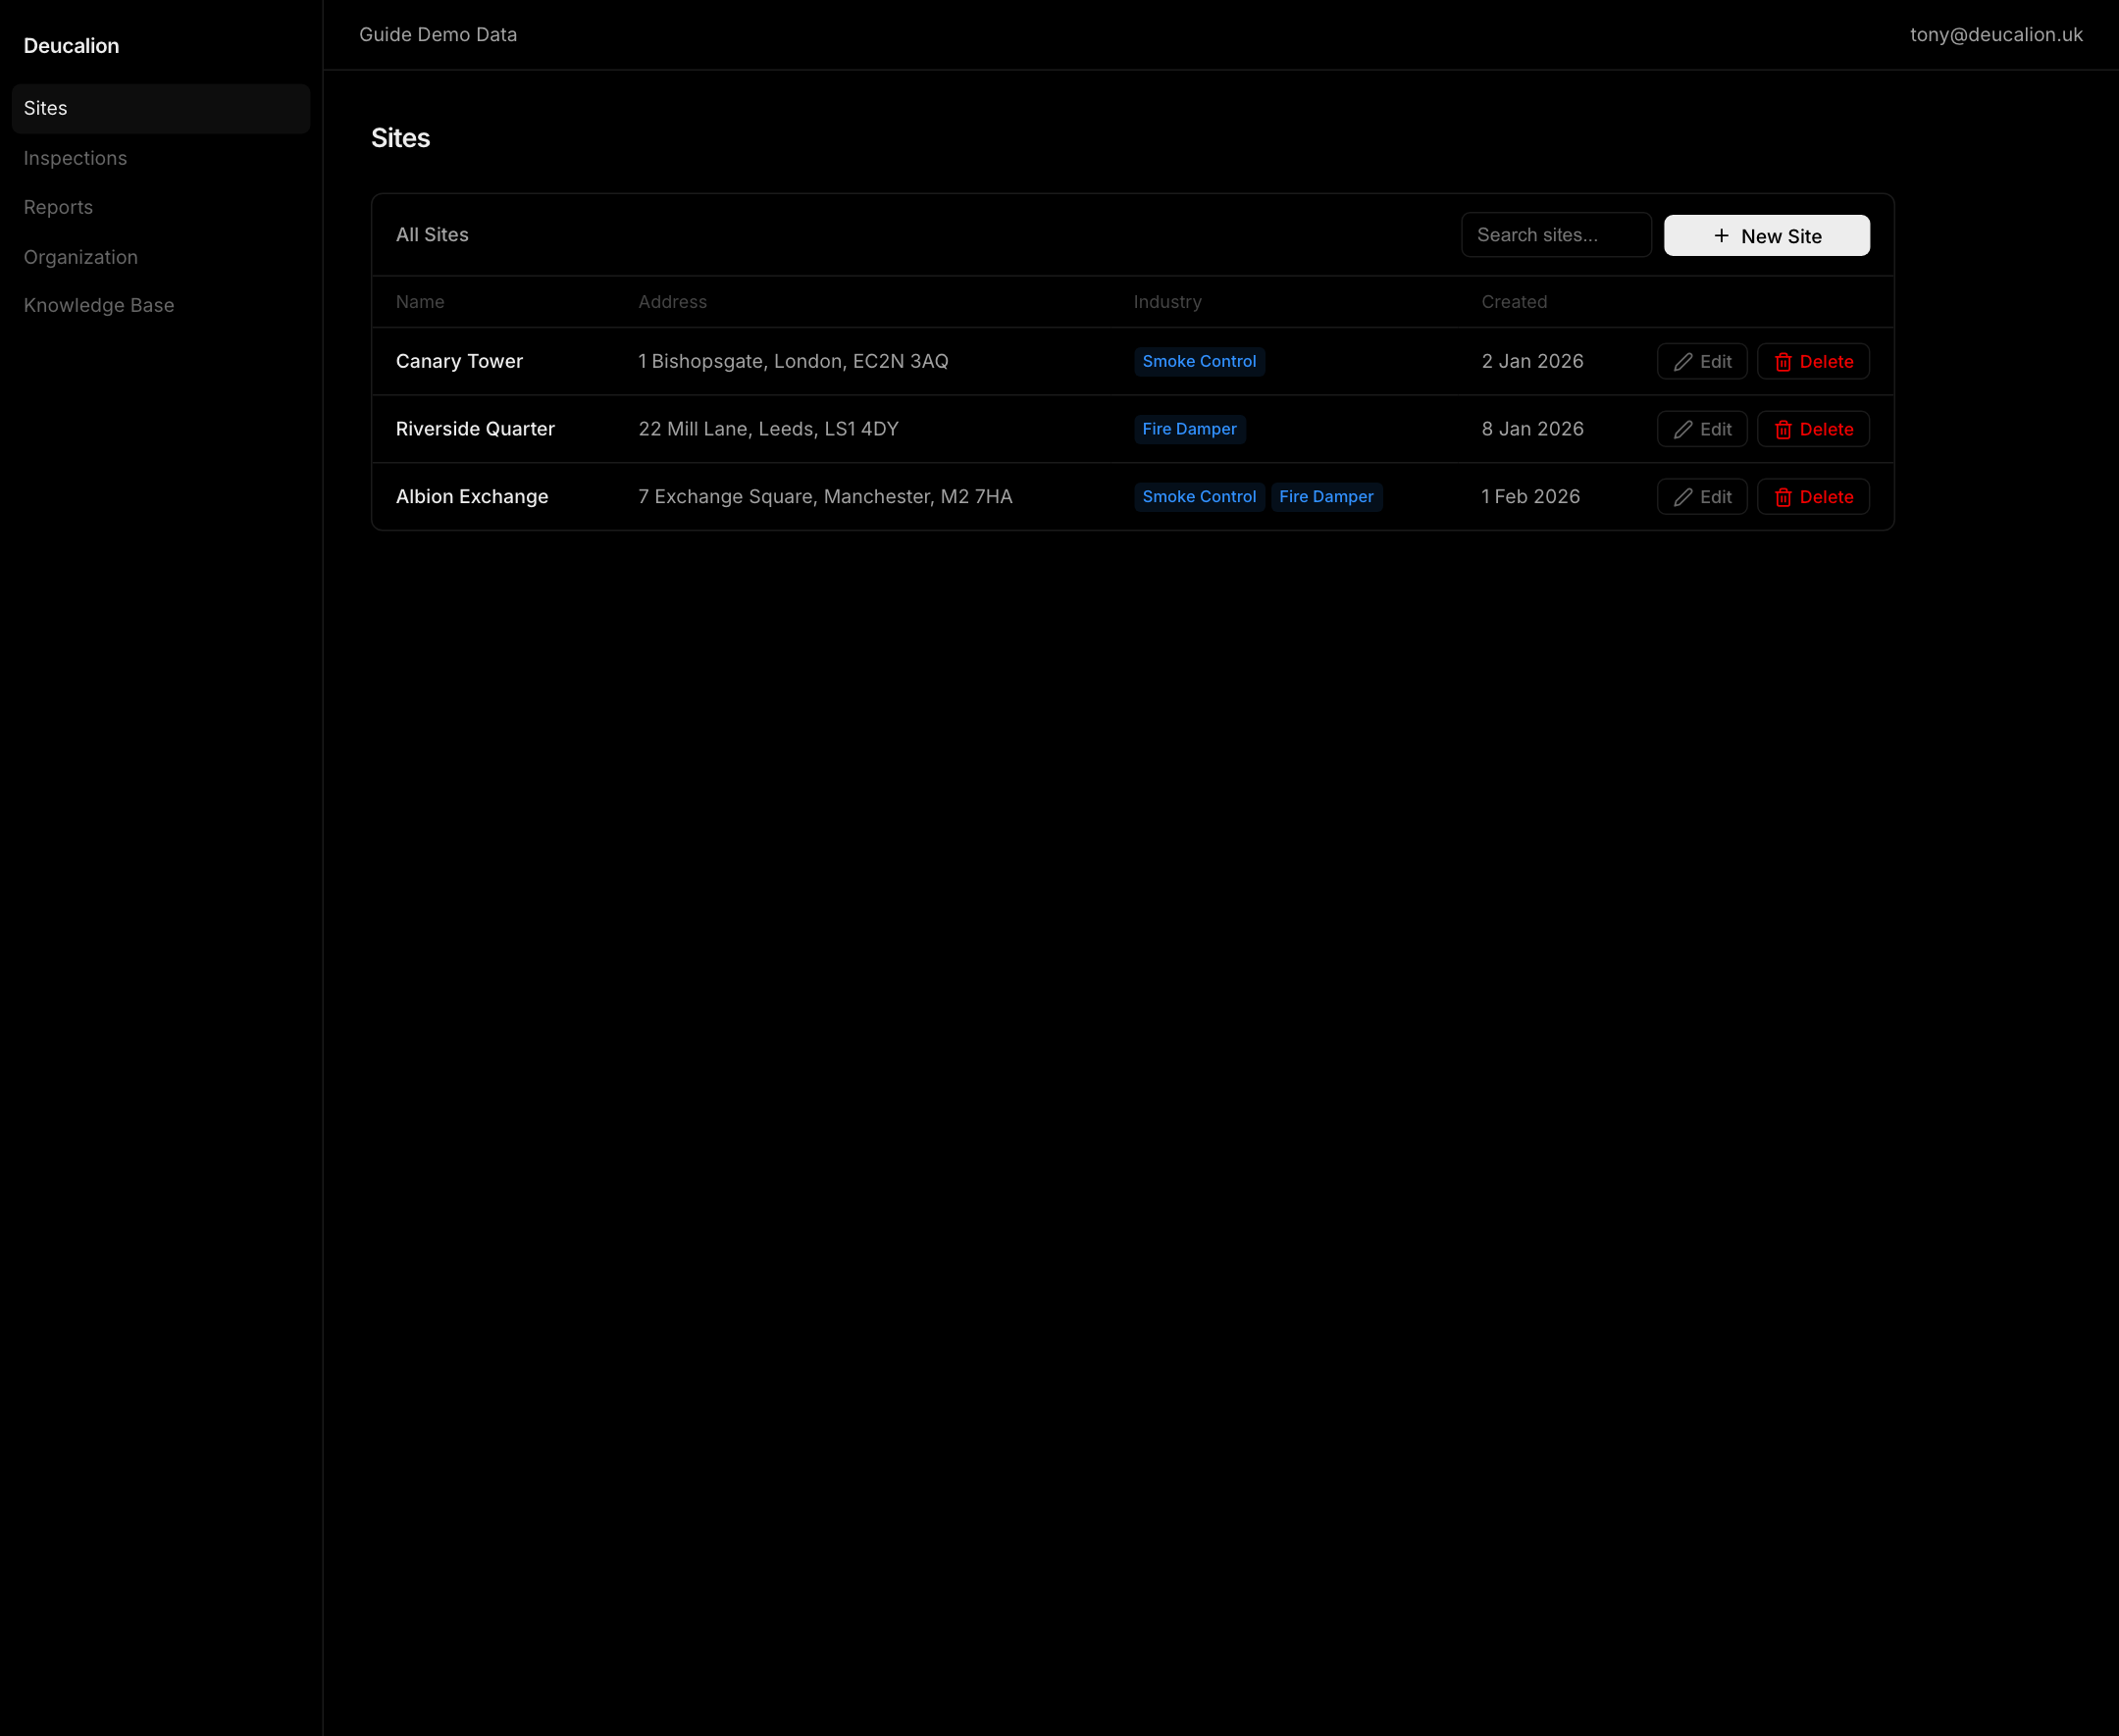
Set the estate register before scheduling work
- Create or import the customer account, then build out each site with the right address, building context, contacts, and site notes.
- Add systems and assets in the structure engineers will actually inspect in the field.
- Keep smoke-control and fire-damper records separated at the system or asset layer so inspections, exports, and reports stay clean later.
- If another system already owns the register, start from the staged import workflow instead of trying to paste the data record by record.
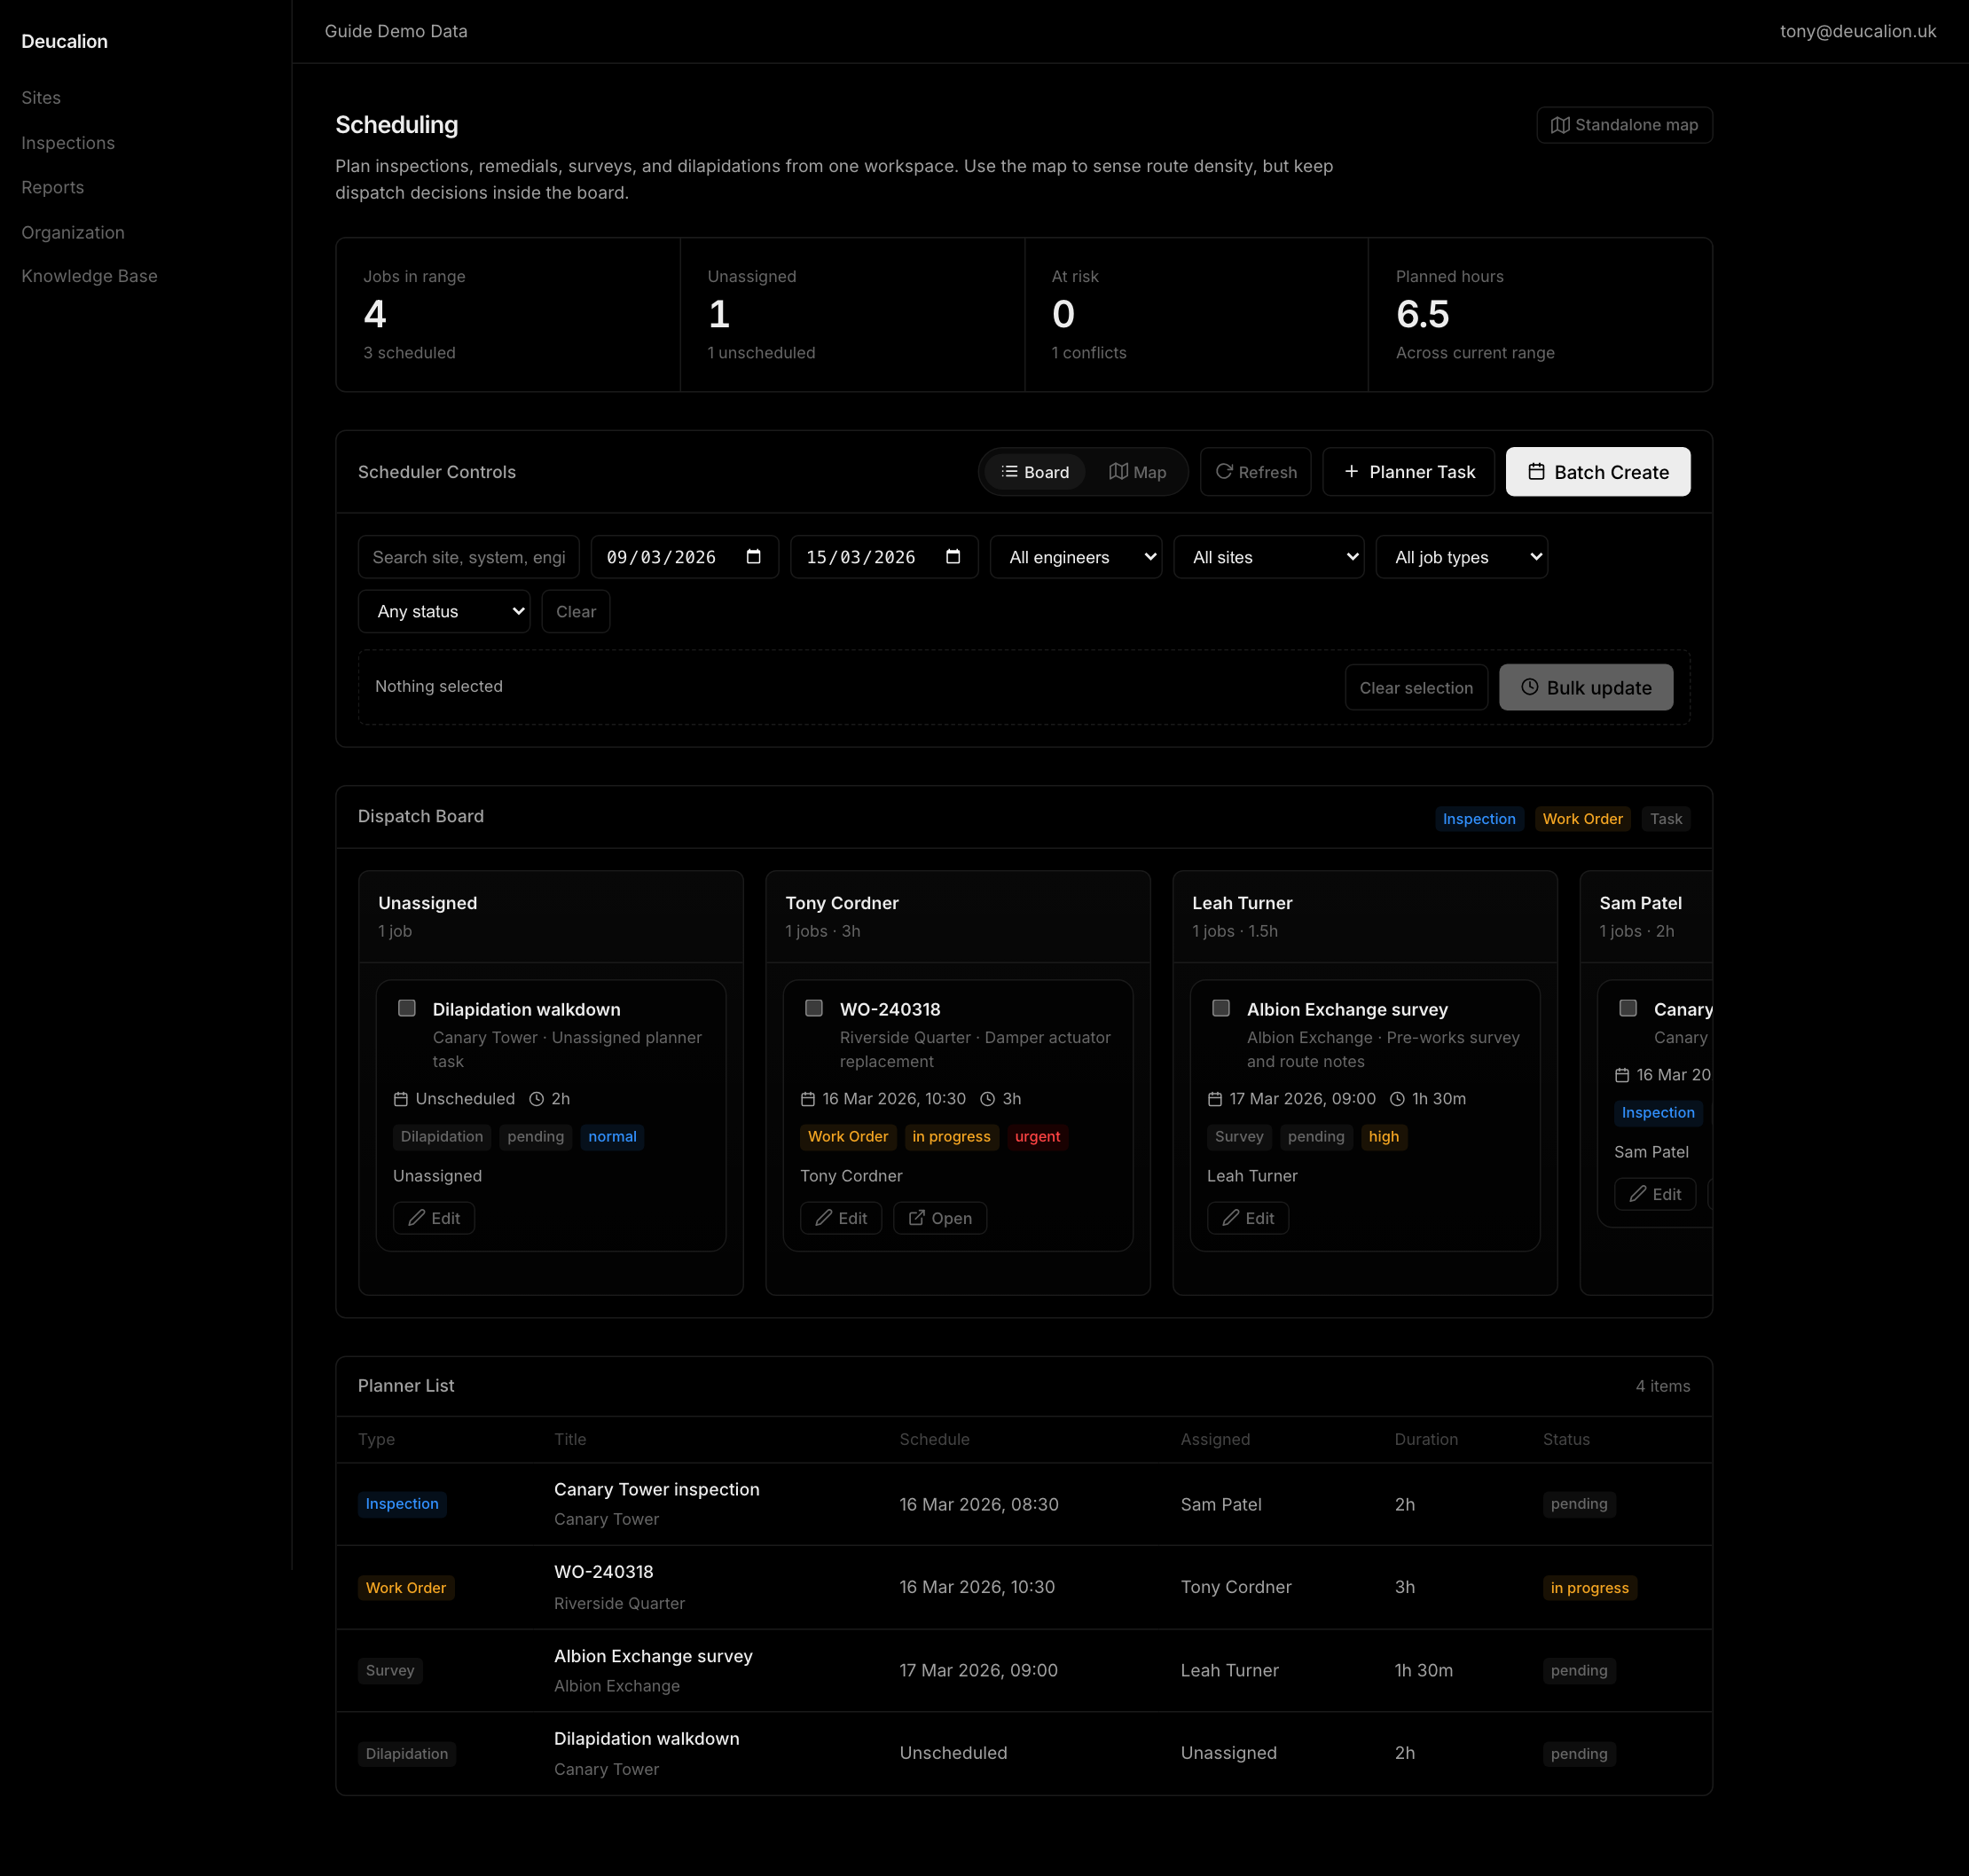
Schedule the first live work
- Move into Scheduler once the site register is clean enough for dispatch.
- Create the inspection or scheduled work from the site context rather than keeping the job in notes or email.
- Choose
Exact datewhen the day and time are already known, and chooseTarget monthwhen the job must happen in a month but the office has not slotted the visit yet. - If the site is new or still being commissioned, you can create the inspection before the live system is confirmed and let the engineer bind the real system during the visit.
- Review draft versus deployed work deliberately so field resources only see field-ready assignments.
- Use the backlog and quick-view controls to keep unscheduled demand visible without losing the main planner.
- If someone is missing from the assignee picker, check their field-work eligibility before treating it as a scheduler bug.
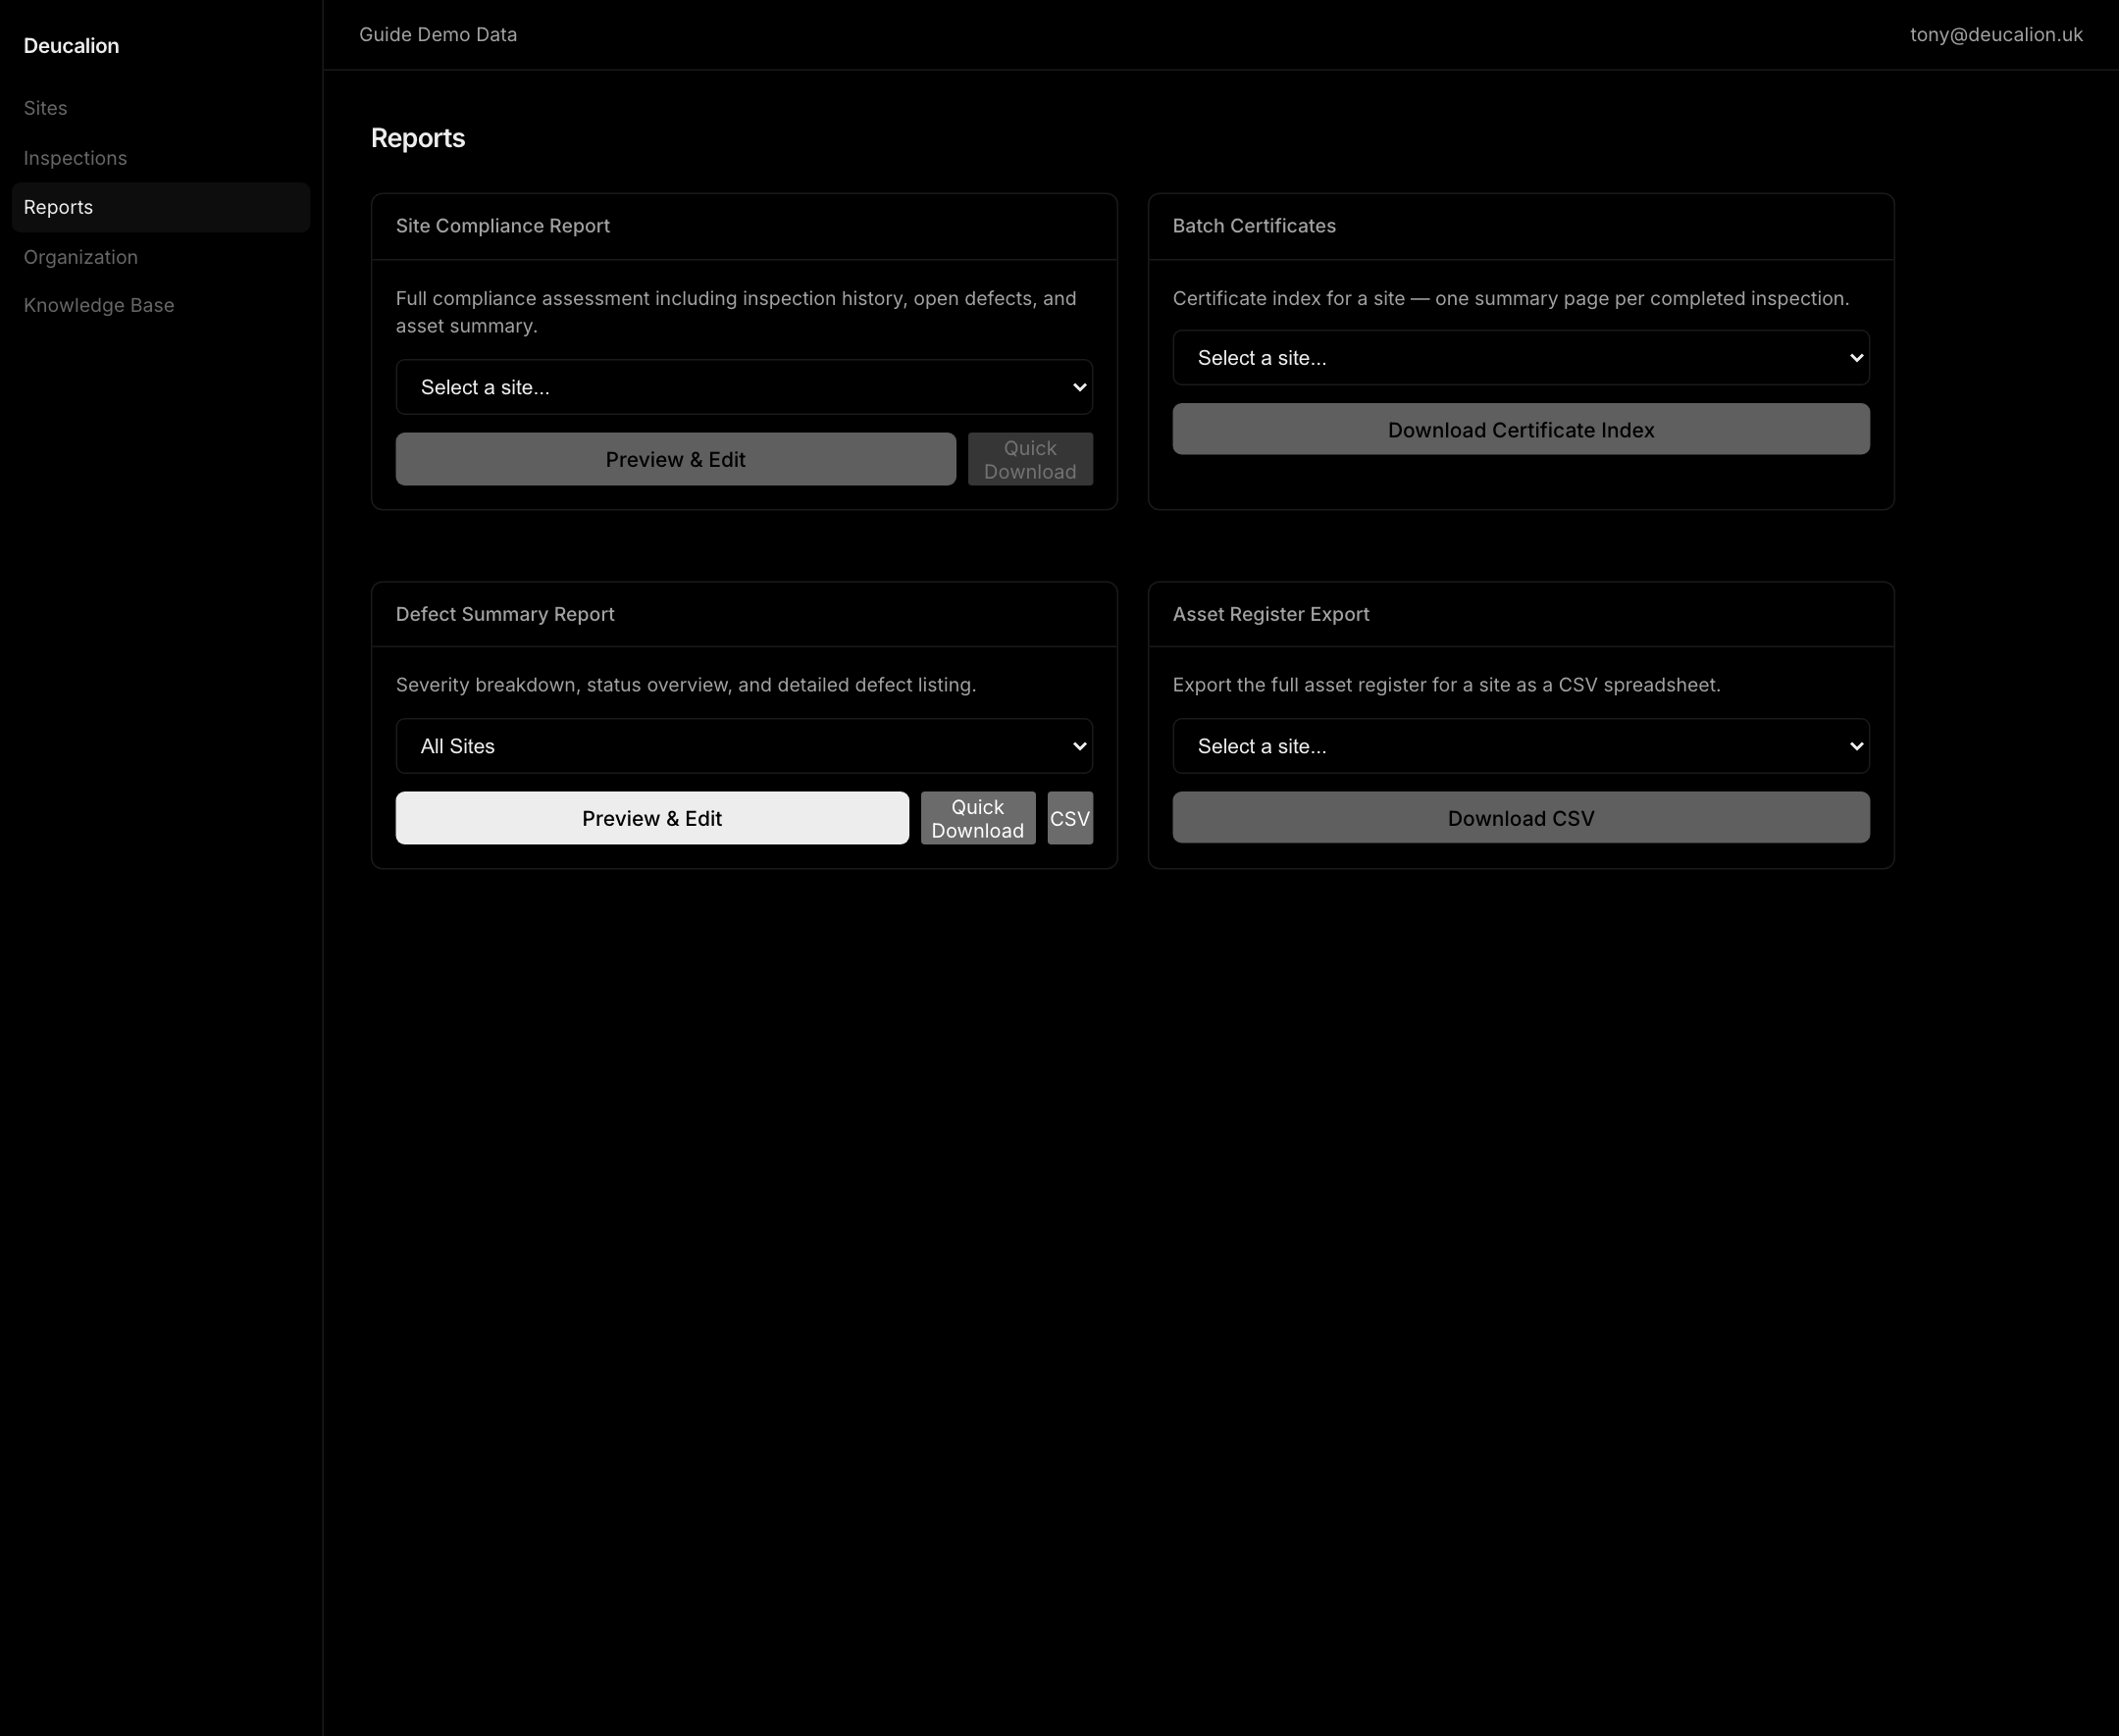
Review outputs early
- Open Inspections and Reports as soon as the first records land back from the field.
- Confirm visit notes, defects, and certificate data read the way the customer expects before you scale the workflow.
- Use report previews for higher-risk outputs instead of downloading the final file blindly.
- Keep the notification bell visible in the top bar so mentions and collaboration prompts do not get buried while the office team is triaging outputs.
Keep feature visibility realistic
- Treat quotes, work orders, AI-assisted actions, analytics, and some finance features as workspace-availability decisions, not guaranteed defaults.
- If a desk is missing, check workspace access and enabled features before assuming the portal is broken.
- Collaboration surfaces also follow role rules: notifications are tied to the signed-in user, while the cross-resource Activity Feed is an admin Collaboration desk.
Troubleshooting
| Problem | What to check |
|---|---|
| An invited user lands in the wrong workspace after signup | Ask them to complete the invite from the browser link, then re-open the app and switch to the invited workspace. |
| A field resource is missing from the assignment picker | Confirm the member is in the right workspace and has field work enabled rather than office-only status. |
| The import or setup path feels slower than bulk upload | Use the staged import desk from CRM, Sites, Systems, Assets, or Work Orders instead of creating everything by hand. |
| The first report looks incomplete | Re-check visit notes, defects, and site branding data before regenerating the output. |
Reference surfaces
- Use the Admin Page Index when you need the full route inventory rather than the onboarding path.
- Jump into Dashboard, Scheduling, and Reports for desk-by-desk control detail.
- Use the Admin Route Interaction Matrix when the real question is how one office page hands work to another.